
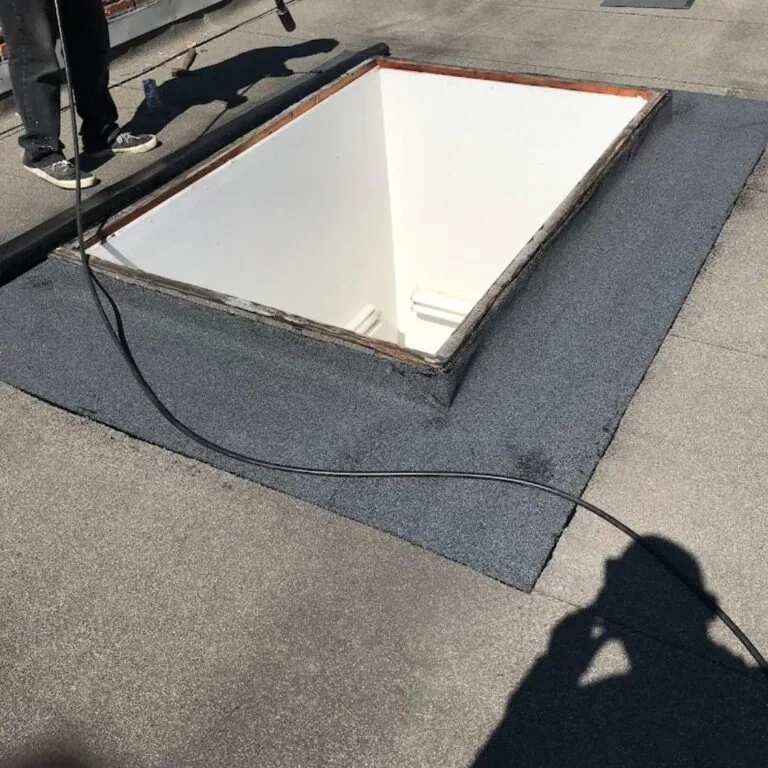
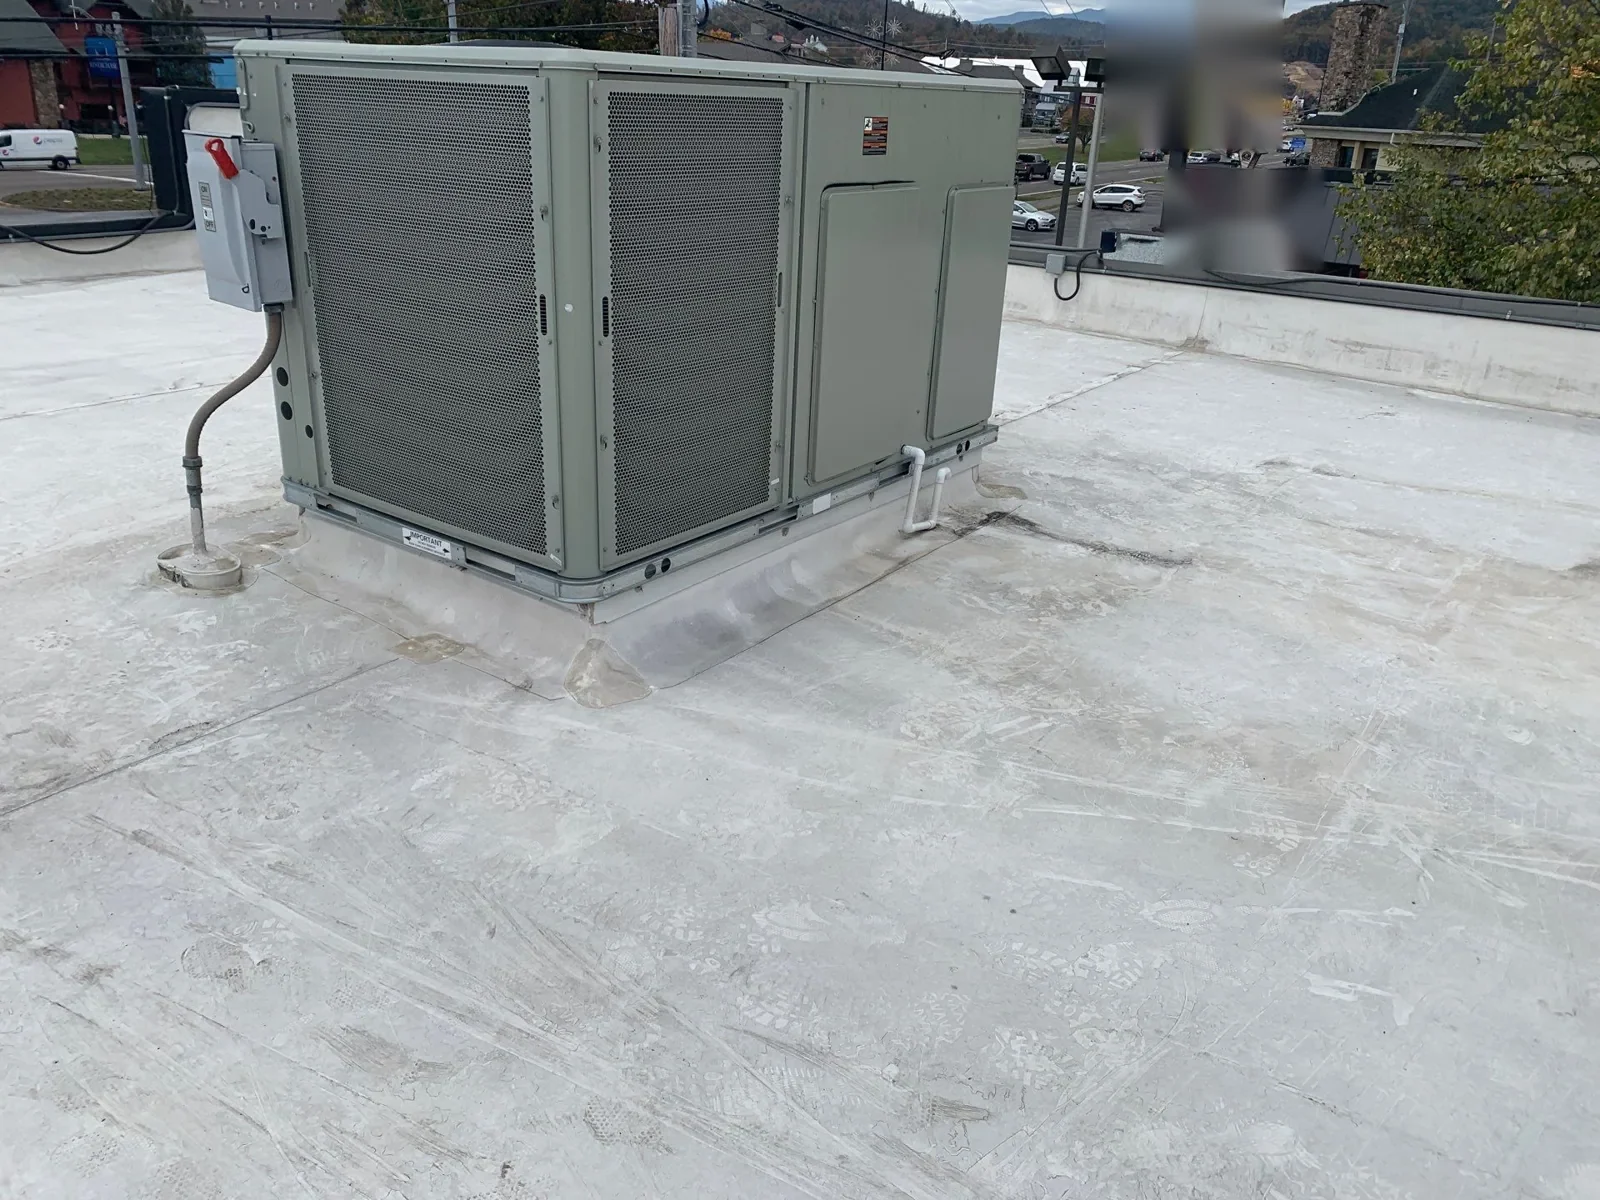
Repair commercial skylight curbs and roof penetration flashing in Rock Hill with transition checks, compatible details, and a marked repair boundary.
A skylight curb or pipe penetration interrupts the roof field, so its flashing has to keep a continuous water barrier through each change in height and material. We inspect the curb, membrane turn-up, attachment, sealant, and nearby field before choosing a repair. Rock Hill's warm, humid Piedmont brings regular rain, so curb corners, flashing laps, and the surrounding drainage route belong in the inspection. Development along the Cherry Road corridor includes retail and institutional improvements, while Knowledge Park links downtown and Winthrop University. We confirm roof access and protection needs with the facility contact, then inspect the actual curb or penetration detail. We mark the curb or penetration and keep the repair boundary tied to what is visible.
Inspect the Curb and Upturn
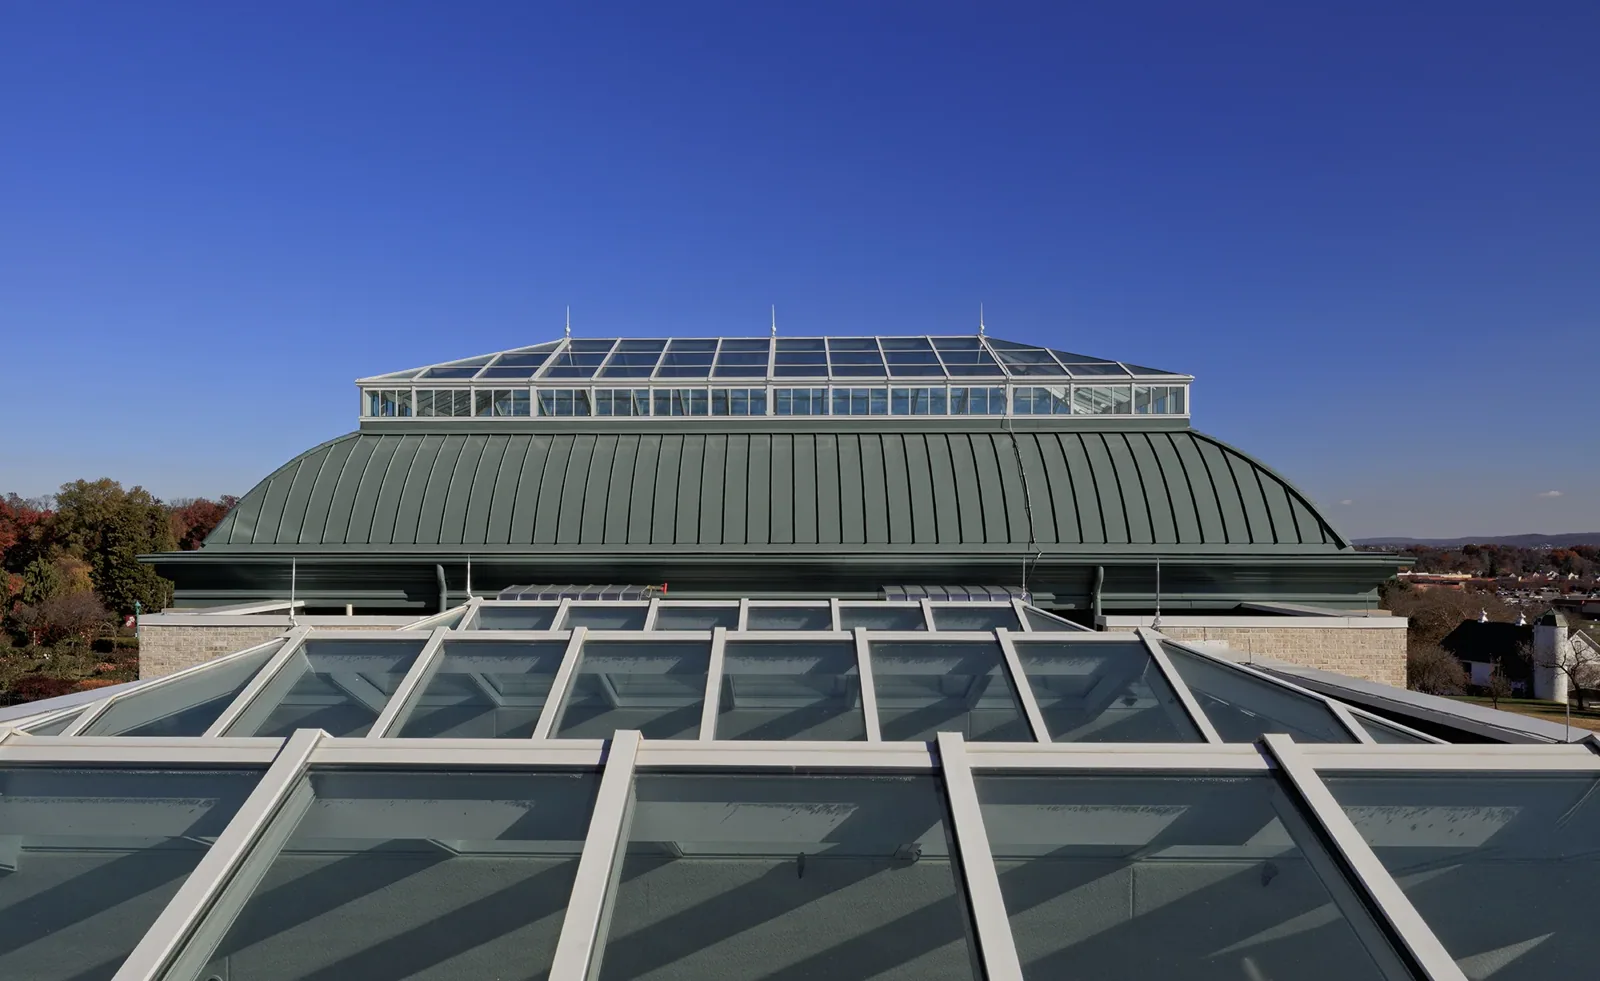
At a skylight curb, we check the height and condition of the curb, the membrane or flashing turn-up, attachment, corners, and cap. A split corner, loose base flashing, or open lap can let water pass beneath the field surface. We inspect the connection where each side meets the roof membrane and note any movement or previous patch. Sealant can close a small compatible joint, but it cannot correct a loose curb or failed underlying attachment by itself.
We also look at the skylight frame and surrounding roof for visible damage or drainage that directs water toward the curb. If the glazing or frame is damaged, that condition may require a separate scope from roof flashing. The inspection record distinguishes roof-side work from the skylight unit itself and notes any access or safety limits. A photo from above shows the curb boundary, while an interior symptom can help identify which roof zone needs closer review. Where the water path remains uncertain, a leak investigation can compare the interior report with the roof details.
Check Pipes, Conduits, and Equipment Supports
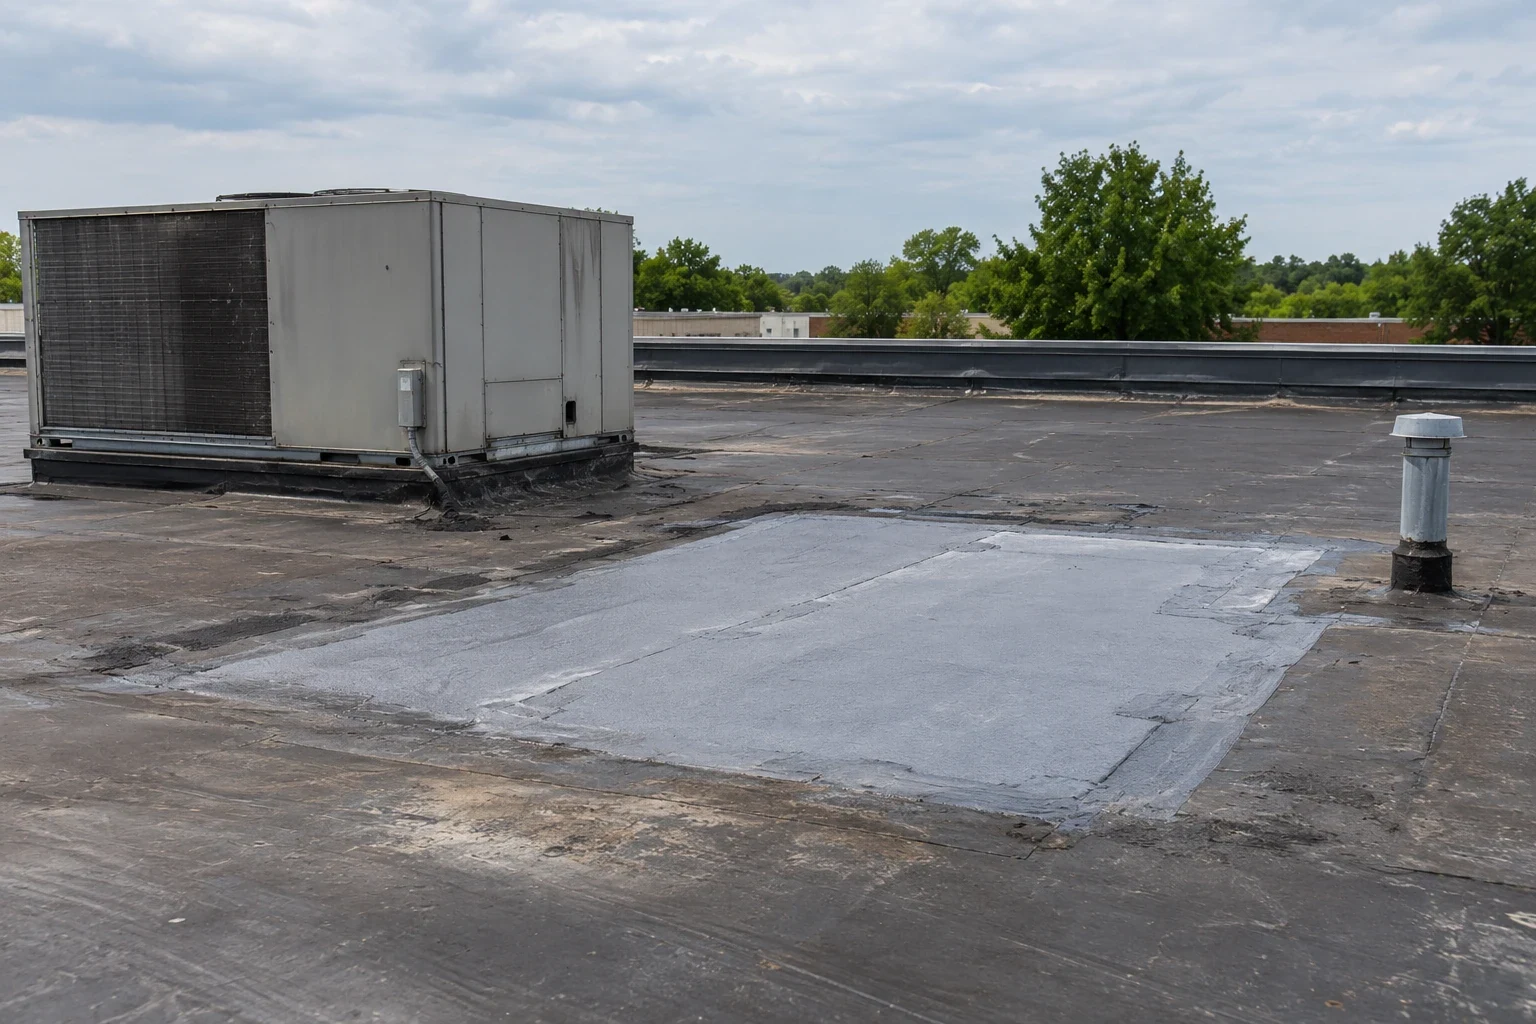
Each pipe, conduit, vent, or support has a transition where the roof membrane meets another material. We inspect the boot or flashing, clamp or attachment, sealant, and nearby membrane for cracks, separation, movement, or water staining. Multiple conduits grouped through one opening may need a different flashing detail than a single pipe. We identify the penetration type where it can be confirmed and avoid assuming that a similar-looking assembly uses the same materials.
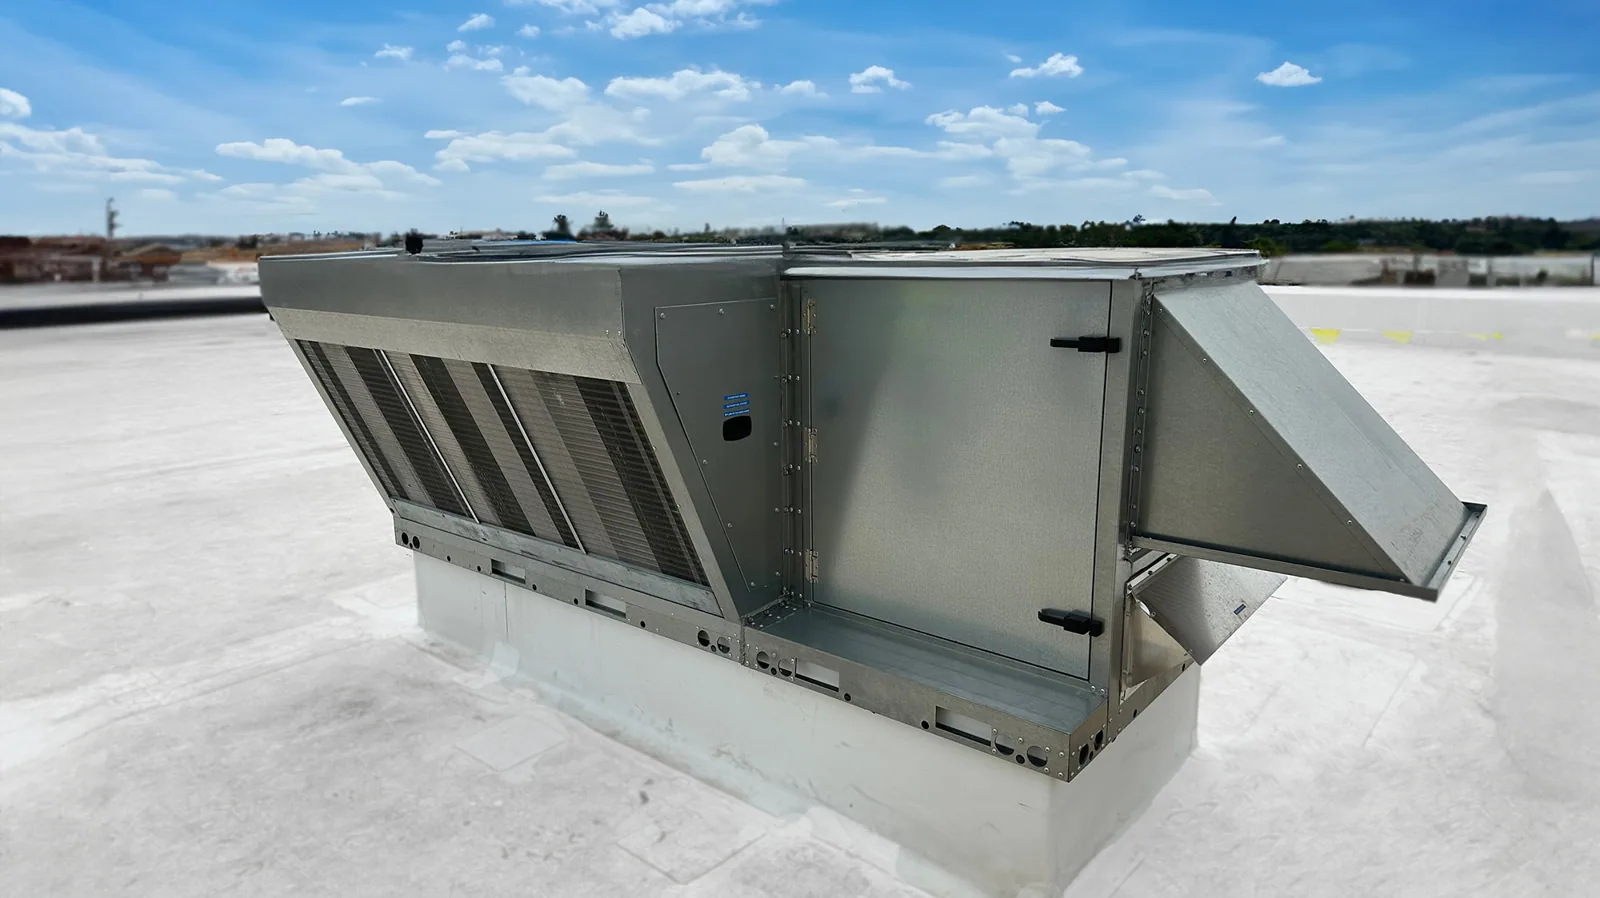
Later equipment work can leave an unsealed opening or stress an existing boot. We review visible changes and ask about recent rooftop work when it affects the repair boundary. If a flashing is loose, we determine whether the detail can be reset or needs replacement, then prepare the surrounding surface for a compatible tie-in. The roof system's material and condition guide the repair method. For equipment transitions, a focused curb and support repair can address the base detail. A related edge metal inspection may be needed if water travels from the penetration toward a perimeter transition.
Trace Water Around the Detail
A stain below a skylight or pipe points to an affected area, not necessarily the exact roof opening. Water may follow the deck or framing before becoming visible indoors. We inspect above the symptom, then look outward along seams, curb corners, nearby patches, and drainage routes. If the roof is dry at the visit, we compare the reported timing and rainfall with nearby seams, curb corners, and drainage routes before defining follow-up.
Rock Hill's regional climate includes rainfall through a long warm season, so a transition may be tested by multiple weather events before a leak becomes noticeable. We record what was visible and whether a controlled water test is appropriate. If the surface repair requires opening a layer, we explain the proposed test area and close the opening with a compatible repair. An open skylight curb can sometimes involve the surrounding membrane field; if so, the work order names both the curb flashing and the affected field tie-in instead of treating them as separate without checking their connection.
Build a Compatible Flashing Repair
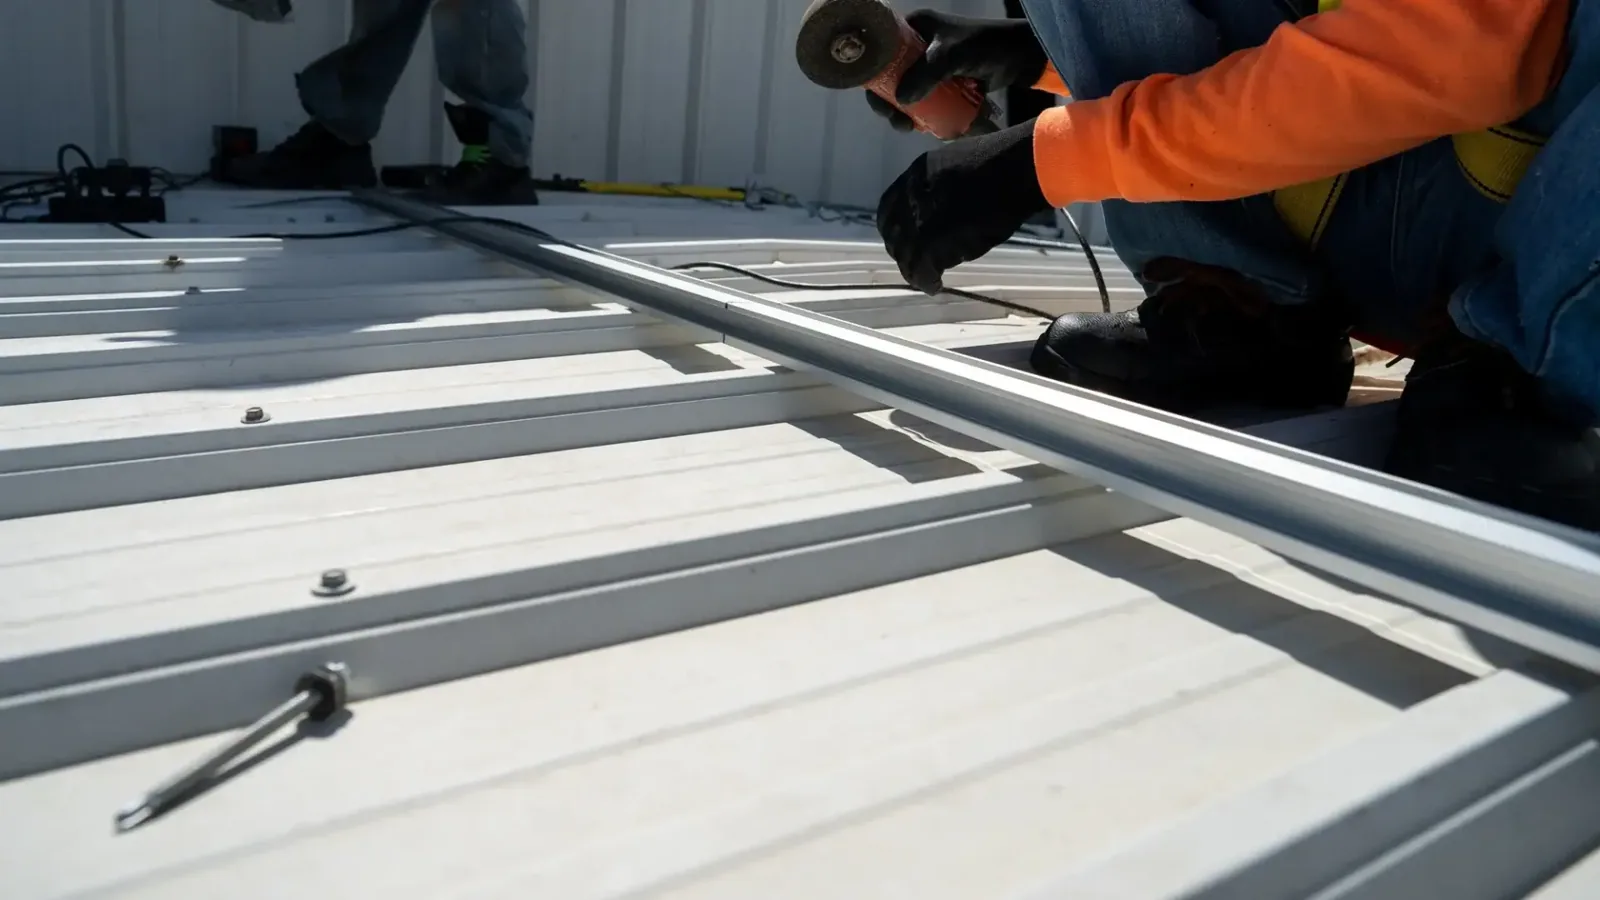
The repair starts with removing loose or failed material within the approved boundary. We prepare the substrate, renew the flashing or boot as needed, and tie the new detail back to sound membrane or metal. Corners and laps need particular attention because a small opening can collect water and grow under movement. If the curb or penetration base is unstable, we address that connection rather than applying a new bead over the same failure. We protect open penetrations until the tie-in is complete.
Rock Hill has industrial and business parks, retail centers, institutional facilities, and mixed-use redevelopment. These uses can affect access and work sequencing, but they do not identify the roof system at a property. We confirm material and attachment on the roof, coordinate the work zone with the facility contact, and protect the opening if the repair spans more than one visit. Cost and timing depend on the number of details, surface condition, access, and extent of membrane replacement. A broader commercial repair scope may be needed if nearby seams or field membrane also show failure. Once complete, a maintenance check can keep the curb and penetration on the roof's scheduled inspection route.
Record the Detail and Follow-Up
We photograph the curb or penetration before and after work, name the roof zone, and record the material or connection repaired. The note also lists adjacent conditions that were visible but outside the scope, such as worn membrane or a separate damaged skylight frame. If the detail could not be tested during the visit, we state what was not confirmed. This keeps a roof-side flashing repair from being mistaken for replacement of the skylight or evaluation of concealed moisture.
Share the interior symptom, recent rooftop work, roof system if known, and access requirements with us. We will inspect the transition, trace the nearby water path, and define the work that closes the observed opening. If water appears again, the marked curb and photo record help the next visit return to the same edge and corner. A follow-up check after rain may be useful when the original leak appeared only under particular conditions. The scope remains tied to the inspected detail and any additional work the owner approves.
Questions About Commercial Skylight and Penetration Flashing
A curb can leak where its base flashing separates, a corner opens, attachment loosens, or the transition to the roof membrane fails. We inspect the curb and nearby field, then identify the supported entry detail. Water can travel before reaching the ceiling, so the interior stain alone does not locate the opening.
We first check the boot or flashing, attachment, pipe movement, and surrounding membrane. If the detail is sound and only a compatible joint needs repair, sealing may be part of the scope. A split boot or loose base generally requires a repair that restores the transition itself.
The scope covers roof-side flashing unless the proposal specifically includes the skylight unit. We inspect visible frame and glazing conditions and note separate concerns. The repair record distinguishes a curb or membrane detail from work on the skylight assembly.
We inspect the completed flashing, corners, and membrane tie-in and document the repair boundary. A controlled water test may be appropriate when conditions allow. A later check after rain can compare the same zone, while concealed areas remain outside the result unless they were tested.
Review a Roof Penetration
Tell us which curb, skylight, or penetration is involved, where water appears, whether rooftop work recently occurred, and what access limits apply. We will inspect the transition and define a compatible repair boundary.